Your lawn mower worked perfectly the last time you used it. A few months in the garage later, it suddenly acts as though starting the engine is an unreasonable request.
Unfortunately, winter storage can be harder on a mower than it looks. Gasoline deteriorates, batteries lose charge, and leftover grass clippings hold moisture against metal surfaces.
Knowing how to winterize lawn mower equipment properly can prevent many of these problems.
Most of the work involves a few maintenance checks, sensible fuel management, and finding a dry place to park the machine until spring.
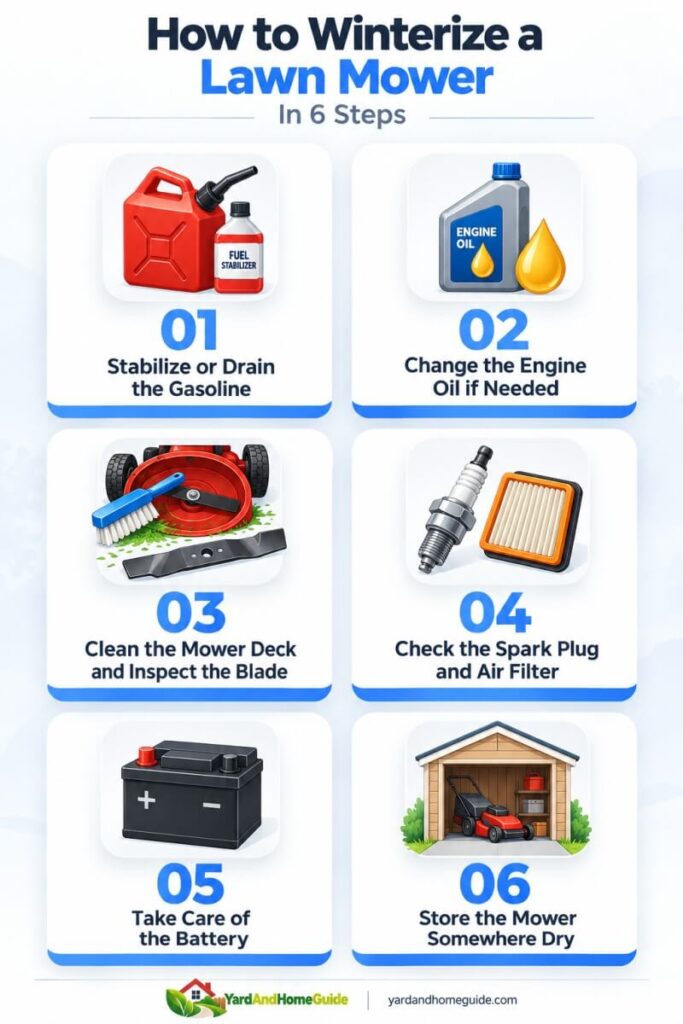
How to Winterize a Lawn Mower in 6 Steps
Before getting started, check your owner’s manual.
Gas-powered push mowers, riding mowers, and battery-powered models have different maintenance requirements.
We would start with the fuel system on a gasoline mower, since old fuel is one of the most common reasons an otherwise healthy engine refuses to cooperate after winter.
Step 1 – Stabilize or Drain the Gasoline
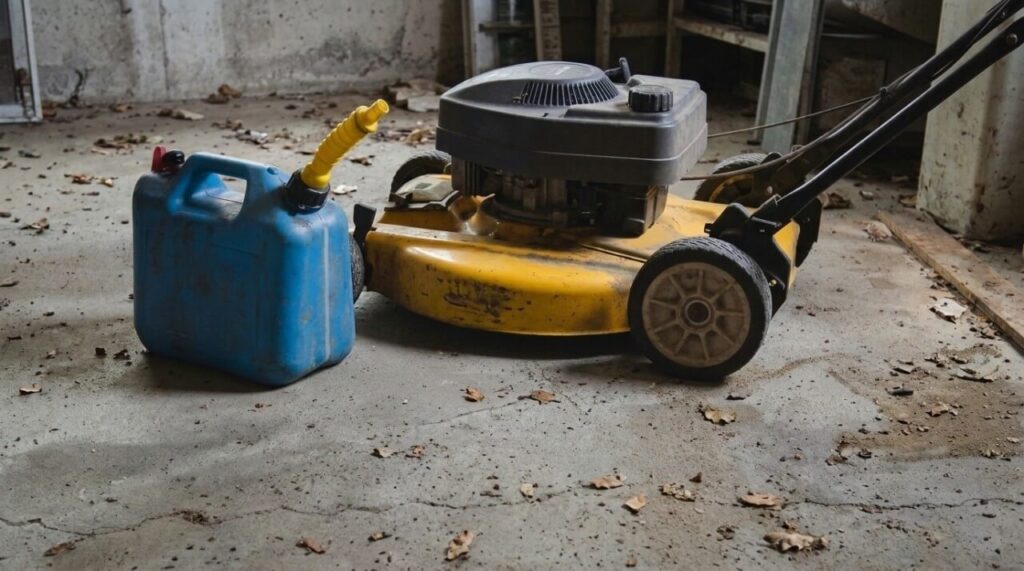
Gasoline does not improve with age. In fact, it can begin deteriorating in as little as 30 days, which is considerably shorter than the average mower’s winter vacation.
As gasoline ages, deposits can develop inside the fuel system, eventually restricting the small passages in the carburetor.
That helps explain why a mower can run perfectly in October and refuse to start in April.
Certain compounds evaporate, oxidation occurs, and deposits may develop inside the fuel system.
Small carburetor passages are particularly vulnerable. Even minor buildup can restrict fuel delivery and make an engine difficult to start.
You generally have two options before winter storage.
Option 1 – Add a fuel stabilizer
Fuel stabilizer helps slow gasoline deterioration during storage.
If your mower manufacturer recommends this method:
- Start with fresh gasoline that meets the engine’s fuel requirements.
- Add the recommended amount of fuel stabilizer according to the product instructions.
- Run the engine for several minutes so treated fuel reaches the carburetor.
- Shut off the engine and allow it to cool before storage.
Adding stabilizer to gasoline that has already deteriorated will not restore its original condition.
One fuel-related mistake is worth avoiding altogether. E15 gasoline contains 15% ethanol and is not approved for ordinary gasoline-powered lawn mowers. Gasoline that works perfectly well in a newer car is not automatically suitable for a small engine.
Check the pump label and your mower’s fuel requirements before filling the tank. Fuel stabilizer cannot make an incompatible gasoline mixture suitable for the engine.
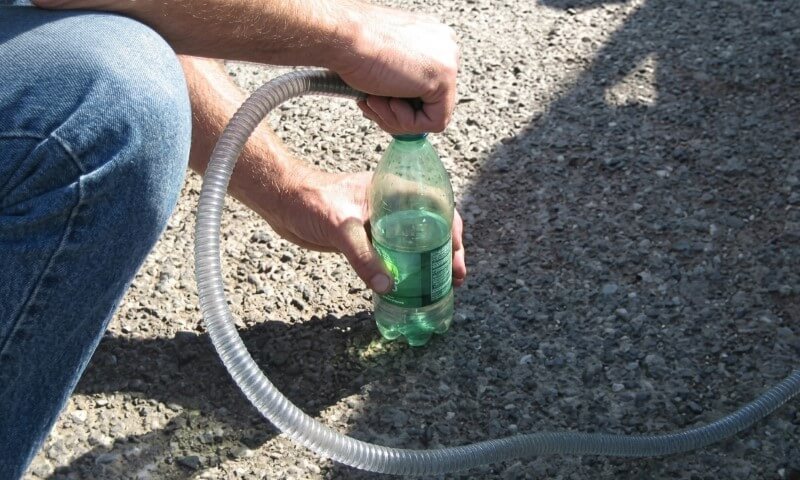
Option 2 – Drain the fuel system
Some manufacturers recommend removing gasoline before extended storage.
Depending on the engine, this may involve emptying the tank, draining the carburetor through a designated drain, or following a specific fuel-removal procedure.
Avoid assuming that running every engine until it stops is the correct approach. Certain manufacturers prefer storing equipment with stabilized fuel, while others provide instructions for draining.
Follow your mower’s manual, handle gasoline outdoors using approved containers, and dispose of unwanted fuel according to local regulations.
Our recommendation: Check the manufacturer’s instructions before choosing either method. Getting the fuel right now is much easier than cleaning a clogged carburetor when the grass is already growing.
Step 2 – Change the Engine Oil if Needed
Old engine oil collects contaminants during normal operation. Leaving heavily used oil in the crankcase throughout winter is not ideal, particularly when the mower is already due for an oil change.
Check the maintenance schedule before reaching for the drain pan.
If an oil change is due, follow these steps:
- Run the engine briefly if the manufacturer recommends warming the oil.
- Shut off the engine, allow it to cool enough for safe handling, and disconnect the spark plug wire.
- Drain the used oil using the procedure specified for your mower.
- Refill with the recommended oil grade and quantity.
- Check the oil level using the manufacturer’s instructions.
Fresh oil provides proper lubrication and helps protect internal engine components.
Avoid overfilling the crankcase. Too much oil can cause smoking, leaks, and operating problems.
Some modern mower engines also have different oil-maintenance requirements, including models designed for checking and adding oil rather than routine changes.
We would check the manual before performing a service the engine might not require.
Step 3 – Clean the Mower Deck and Inspect the Blade
Grass clippings have an impressive ability to collect in places nobody wants them.
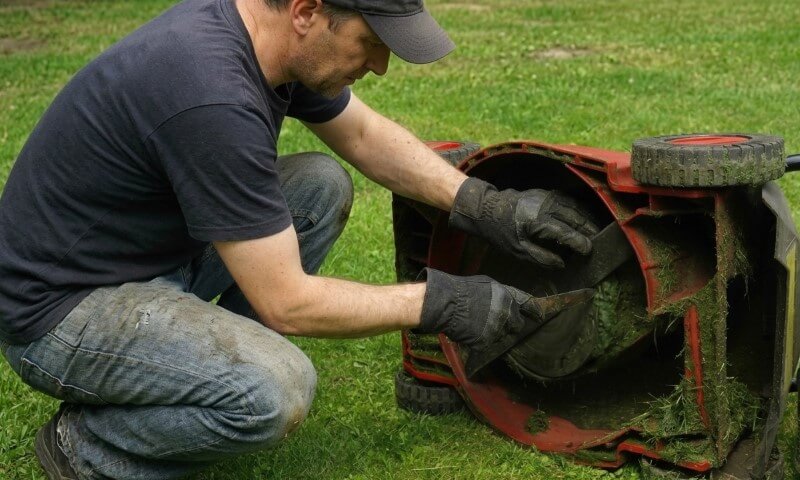
After months of mowing, the underside of the deck may contain a thick layer of compressed grass, dirt, and debris.
Besides interfering with airflow and grass discharge, that buildup traps moisture against the deck and encourages rust.
Before cleaning:
- Shut off the mower, let the engine cool, and disconnect the spark plug wire on gasoline models.
- Remove the battery or safety key on cordless models.
- Position the mower according to the manufacturer’s instructions.
- Use a stiff brush or plastic scraper to loosen packed debris.
- Inspect the blade for excessive wear, cracks, bending, or damaged cutting edges.
Avoid tipping a gasoline mower in an unsupported direction. Oil or gasoline can enter components where they do not belong.
A dull blade can be sharpened if it is otherwise serviceable. Cracked, bent, or badly damaged blades should be replaced with compatible parts.
If removing the blade, follow the manual’s safety procedure and tightening specifications.
Once cleaning is complete, allow the mower to dry thoroughly before putting it away.
Step 4 – Check the Spark Plug and Air Filter
@chef_frizzle69 How change your air filter and spark plug on a lawnmower #lawnmower #mower #smallengine #diy ♬ original sound – Chef Frizzle
A lawn mower engine needs fuel, air, and a reliable spark to start.
When one of those is missing, pulling the starter cord another fifteen times rarely improves the situation.
Inspecting the spark plug and air filter before winter can help identify problems that would otherwise appear during the first spring mowing session.
Start with the spark plug.
Remove it according to the manufacturer’s instructions and look for excessive deposits, worn electrodes, cracked insulation, or other visible damage.
Replace the plug if its condition or the maintenance schedule calls for it.
A perfectly usable spark plug does not become defective simply because the calendar says November.
Next, inspect the air filter.
A clogged filter restricts airflow and can reduce engine performance.
Maintenance depends on the filter design:
| Air filter type | What to do |
| Paper filter | Replace if excessively dirty or damaged |
| Foam filter | Clean and re-oil if the manufacturer specifies |
| Combination filter | Maintain each element according to the manual |
Avoid washing a disposable paper filter unless the manufacturer specifically permits it.
Once everything is inspected, reinstall the components properly and make sure connections are secure.
Step 5 – Take Care of the Battery
Not every mower has a battery, but those that do need a little attention before winter.
Riding mowers and electric-start gasoline models often use batteries that gradually lose charge while sitting unused.
If the battery becomes deeply discharged, restarting the mower in spring may be difficult or impossible without charging or replacement.
Depending on the manufacturer’s instructions, you may need to disconnect the battery, remove it for storage, or connect a compatible battery maintainer.
A battery maintainer monitors charging conditions and helps keep a compatible battery charged during extended storage.
Cordless electric mowers require a different approach.
Most use lithium-ion batteries, which have specific temperature and charge requirements.
A full battery is not always the best battery for winter storage. STIHL, for example, recommends keeping its removable lithium-ion batteries at 40% to 80% charge, ideally in temperatures between 50°F and 68°F.
We would check the battery manufacturer’s instructions before charging anything to 100% and leaving it untouched until spring. A warm, dry storage spot and the correct charge level can make a considerable difference.
Remove the battery if instructed, store it in a dry location within the manufacturer’s recommended temperature range, and follow the specified storage charge level.
Avoid leaving removable batteries in freezing sheds or excessively hot garages when those conditions fall outside their approved storage limits.
We would also avoid automatically charging every lithium-ion battery to 100% before winter. Storage recommendations vary, and some manufacturers prefer a partial charge.
Step 6 – Store the Mower Somewhere Dry
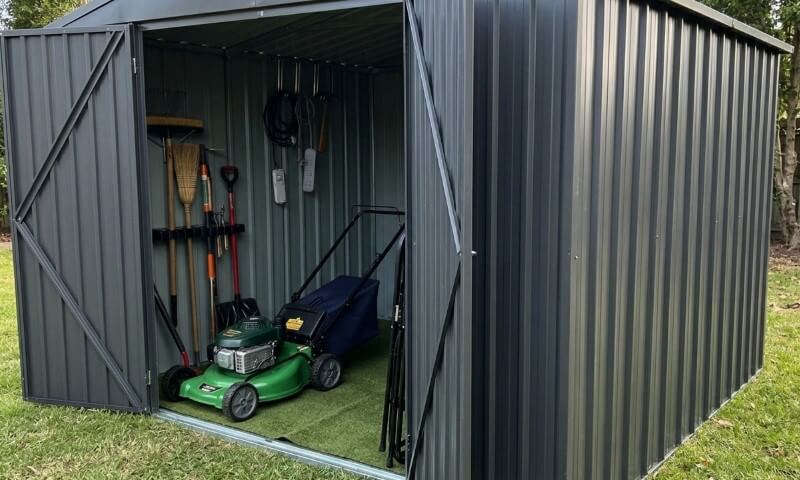
After handling the fuel, cleaning the deck, and checking the important components, storage should be relatively straightforward.
Lawn mowers aren’t the only yard equipment that needs attention before freezing temperatures arrive.
Knowing when to winterize a sprinkler system is just as important, especially since a hard freeze can damage pipes and other irrigation components before you get around to shutting everything down.
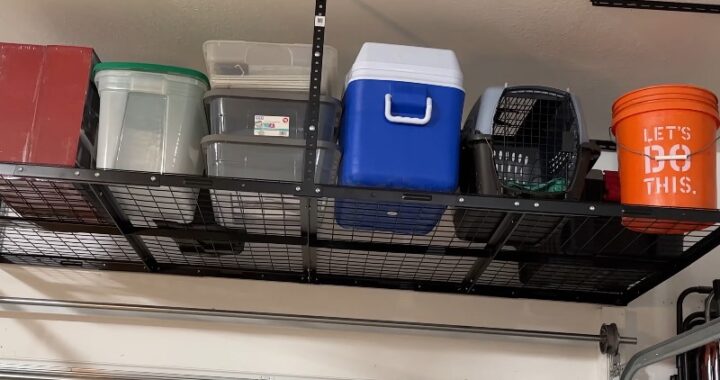
A dry garage or weatherproof shed is usually a better choice than leaving the mower outdoors under a tarp.
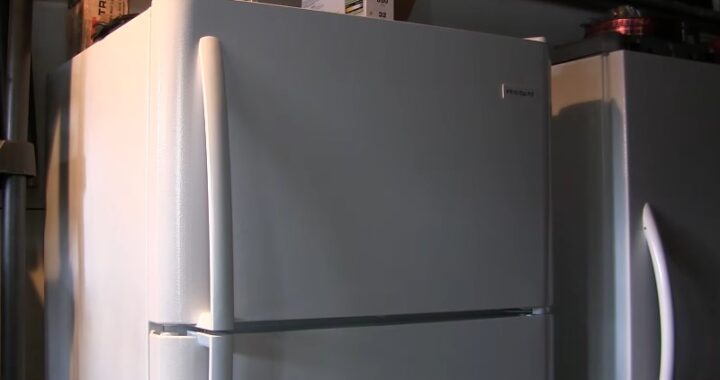
Garages are convenient winter storage spaces, but cold temperatures can cause problems for other equipment, too. Even a freezer in an unheated garage during winter may struggle if temperatures fall outside its approved operating range.
Moisture can corrode exposed metal, damage electrical connections, and shorten the life of certain components.
Before parking the mower:
- Choose a dry, sheltered location protected against rain and snow.
- Let the machine dry completely after cleaning.
- Use a suitable cover that does not trap condensation.
- Keep gasoline-powered equipment and stored fuel away from ignition sources.
- Leave the mower in its approved storage position.
Vertical storage deserves particular attention.
Some modern mowers are specifically designed to stand upright and occupy less floor space. Others can leak gasoline or oil when positioned incorrectly.
Unless the manufacturer approves vertical storage, keep the mower in its normal operating position.
A little extra garage space is preferable to discovering an oil puddle beneath the mower in January.
How to Get Your Lawn Mower Ready to Start in Spring
Spring arrives, the grass begins growing again, and your mower finally gets another chance to demonstrate that it remembers how to start.
Before pulling the starter cord or pressing the ignition button, give the equipment a quick inspection.
Look for loose fasteners, damaged cables, corrosion, leaks, or signs of rodent activity around the engine and wiring.
Next, check the essentials.
| Spring startup check | What to look for |
| Engine oil | Correct level and no visible leaks |
| Gasoline | Fresh, suitable fuel |
| Spark plug | Secure connection |
| Battery | Proper charge and installation |
| Air filter | Clean and correctly fitted |
| Blade and controls | No visible damage and normal operation |
Reconnect any components removed during winter preparation.
For gasoline mowers, perform the first startup outdoors in a well-ventilated area, following the manufacturer’s starting procedure. Never run a gasoline engine inside a garage, even with the door open.
What if the mower still refuses to start?
We would check the simplest possibilities before assuming the carburetor needs rebuilding.
Confirm that the tank contains usable gasoline, the spark plug wire is connected, the battery is adequately charged if applicable, and all required safety controls are engaged.
If the engine cranks but will not start, fuel delivery and ignition are sensible next areas to investigate.
Repeated attempts will not accomplish much if the engine cannot receive fuel or produce a spark.
A Little Maintenance Now Saves Trouble in Spring
Learning how to winterize lawn mower equipment does not require replacing every serviceable part or performing a complete engine overhaul.
Fuel management, routine cleaning, battery care, and dry storage handle most of the important work.
If gasoline is properly treated or drained, the deck is clean, and maintenance is up to date, your mower has a better chance of starting without complaints in spring.
Ideally, your first mowing session should involve cutting grass, not negotiating with an engine that has decided to extend its winter vacation.